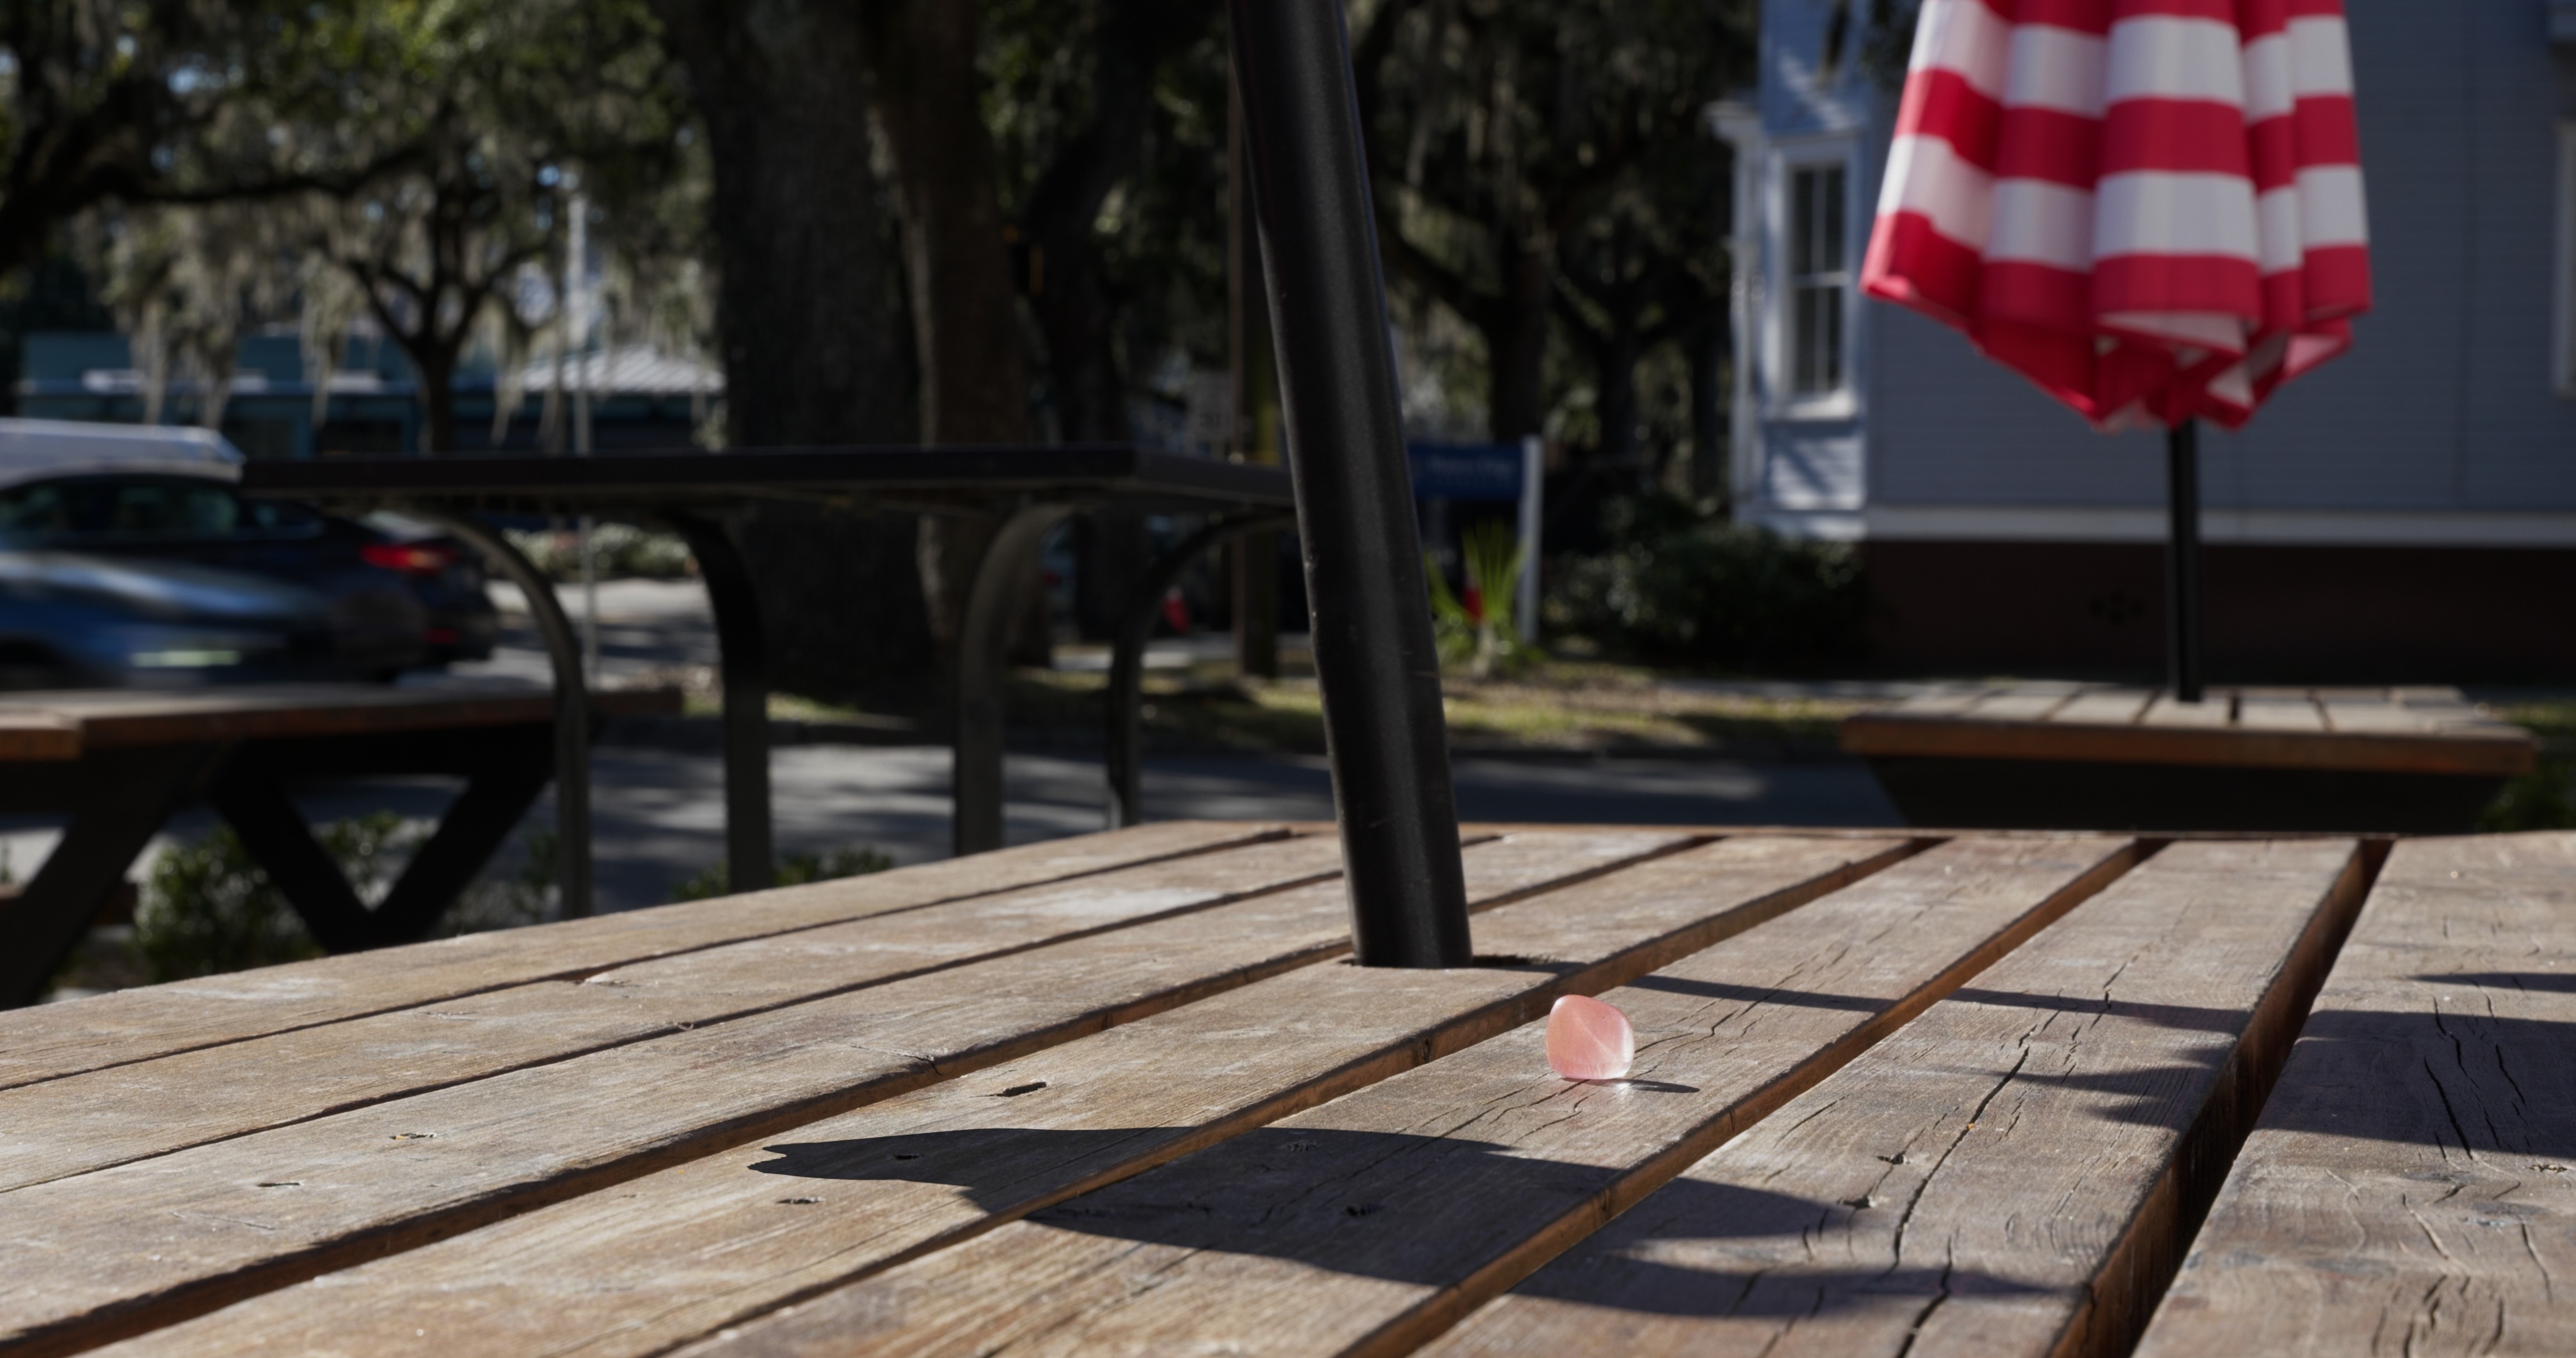
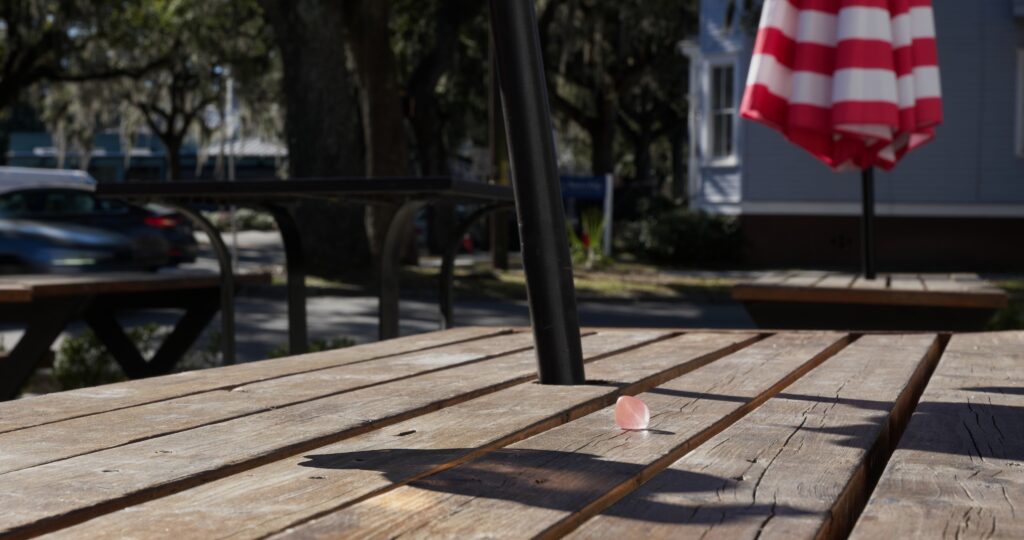
Here is what I turned in for project 2.
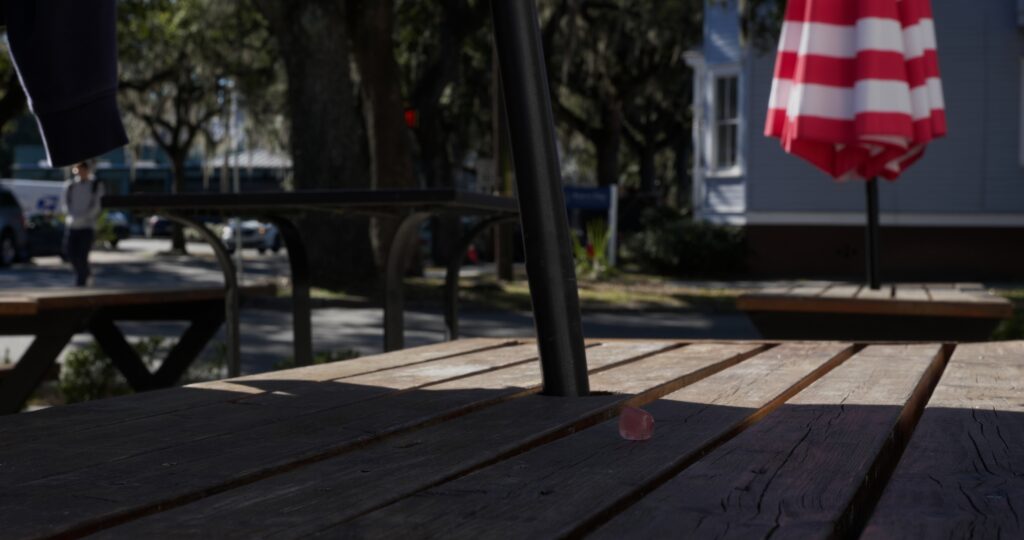
The most complicated part of the project was getting the shadow on the table. The shadow was cast across three separate boards, which were all at different angles, not straight, and had gaps between them. This made it pretty hard to create the geometry that the shadow would be cast on.
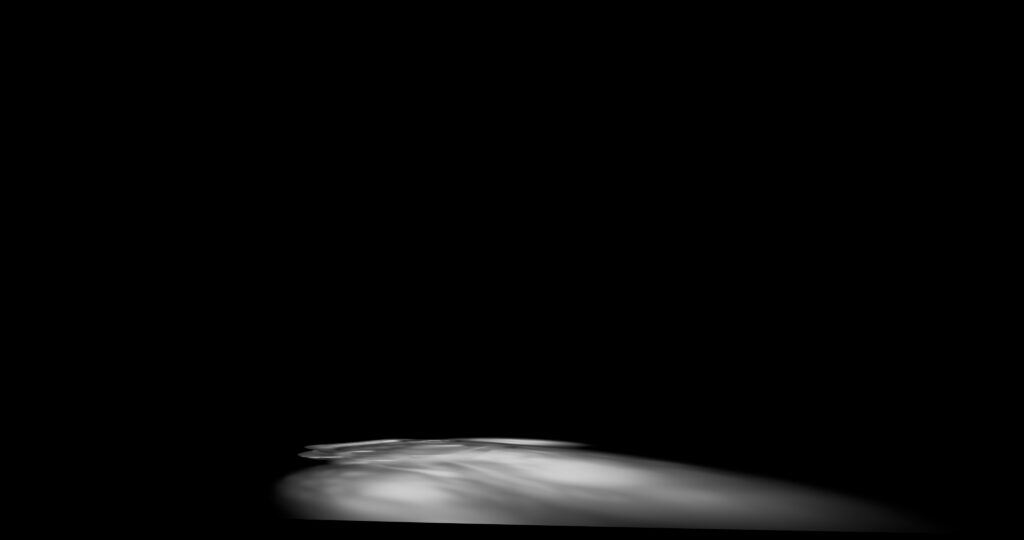
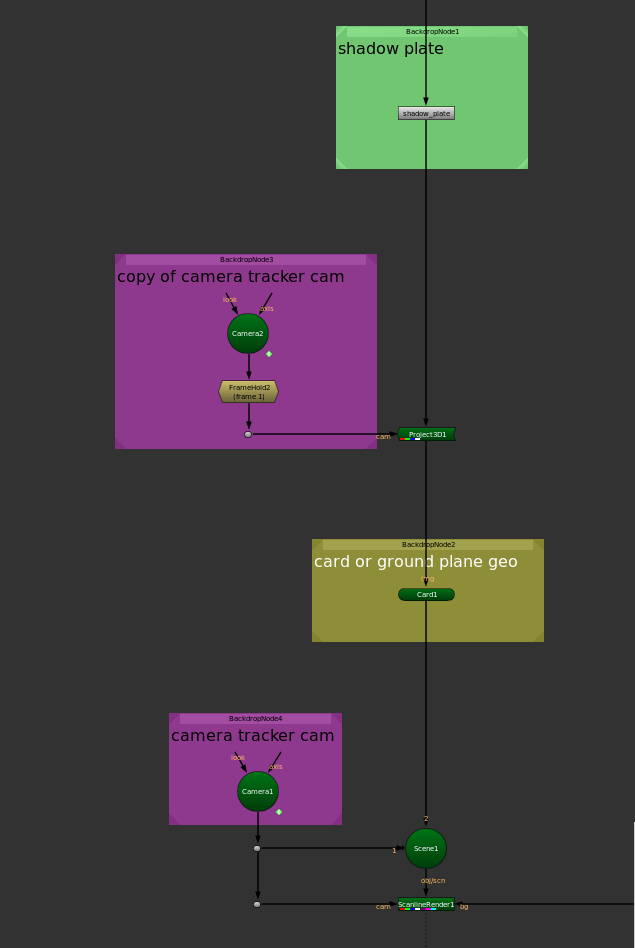
I ended up rendering the shadow matte on a flat plane as they were close enough that wouldn’t be noticeable. I then projected my shadow plate onto that geometry in Nuke using the set up shown below. I then used the tracking data as a starting point to roto out the gaps between the boards. This gave me the most control to precisely align the matte with the edges of the boards.
I ended up using two main shaders for the bunny material. The first was a transmissive with different main and scatter colors to get the orange to purple color variation. I fine tuned the transmission depth to get those two colors to blend together in a way that matched the density of my reference stone.
The second component was a volume shader with some noise to match the cloudiness and tiny floating particles in the reference. In order to get the volume to distort with the surface, I put it inside another transmissive material, this time completely clear. This distorted the volume realistically as the bunny moved and perspective changed.
In comp, I subtracted the volume from the transmissive and graded it more purple because those areas were meant to be darker.
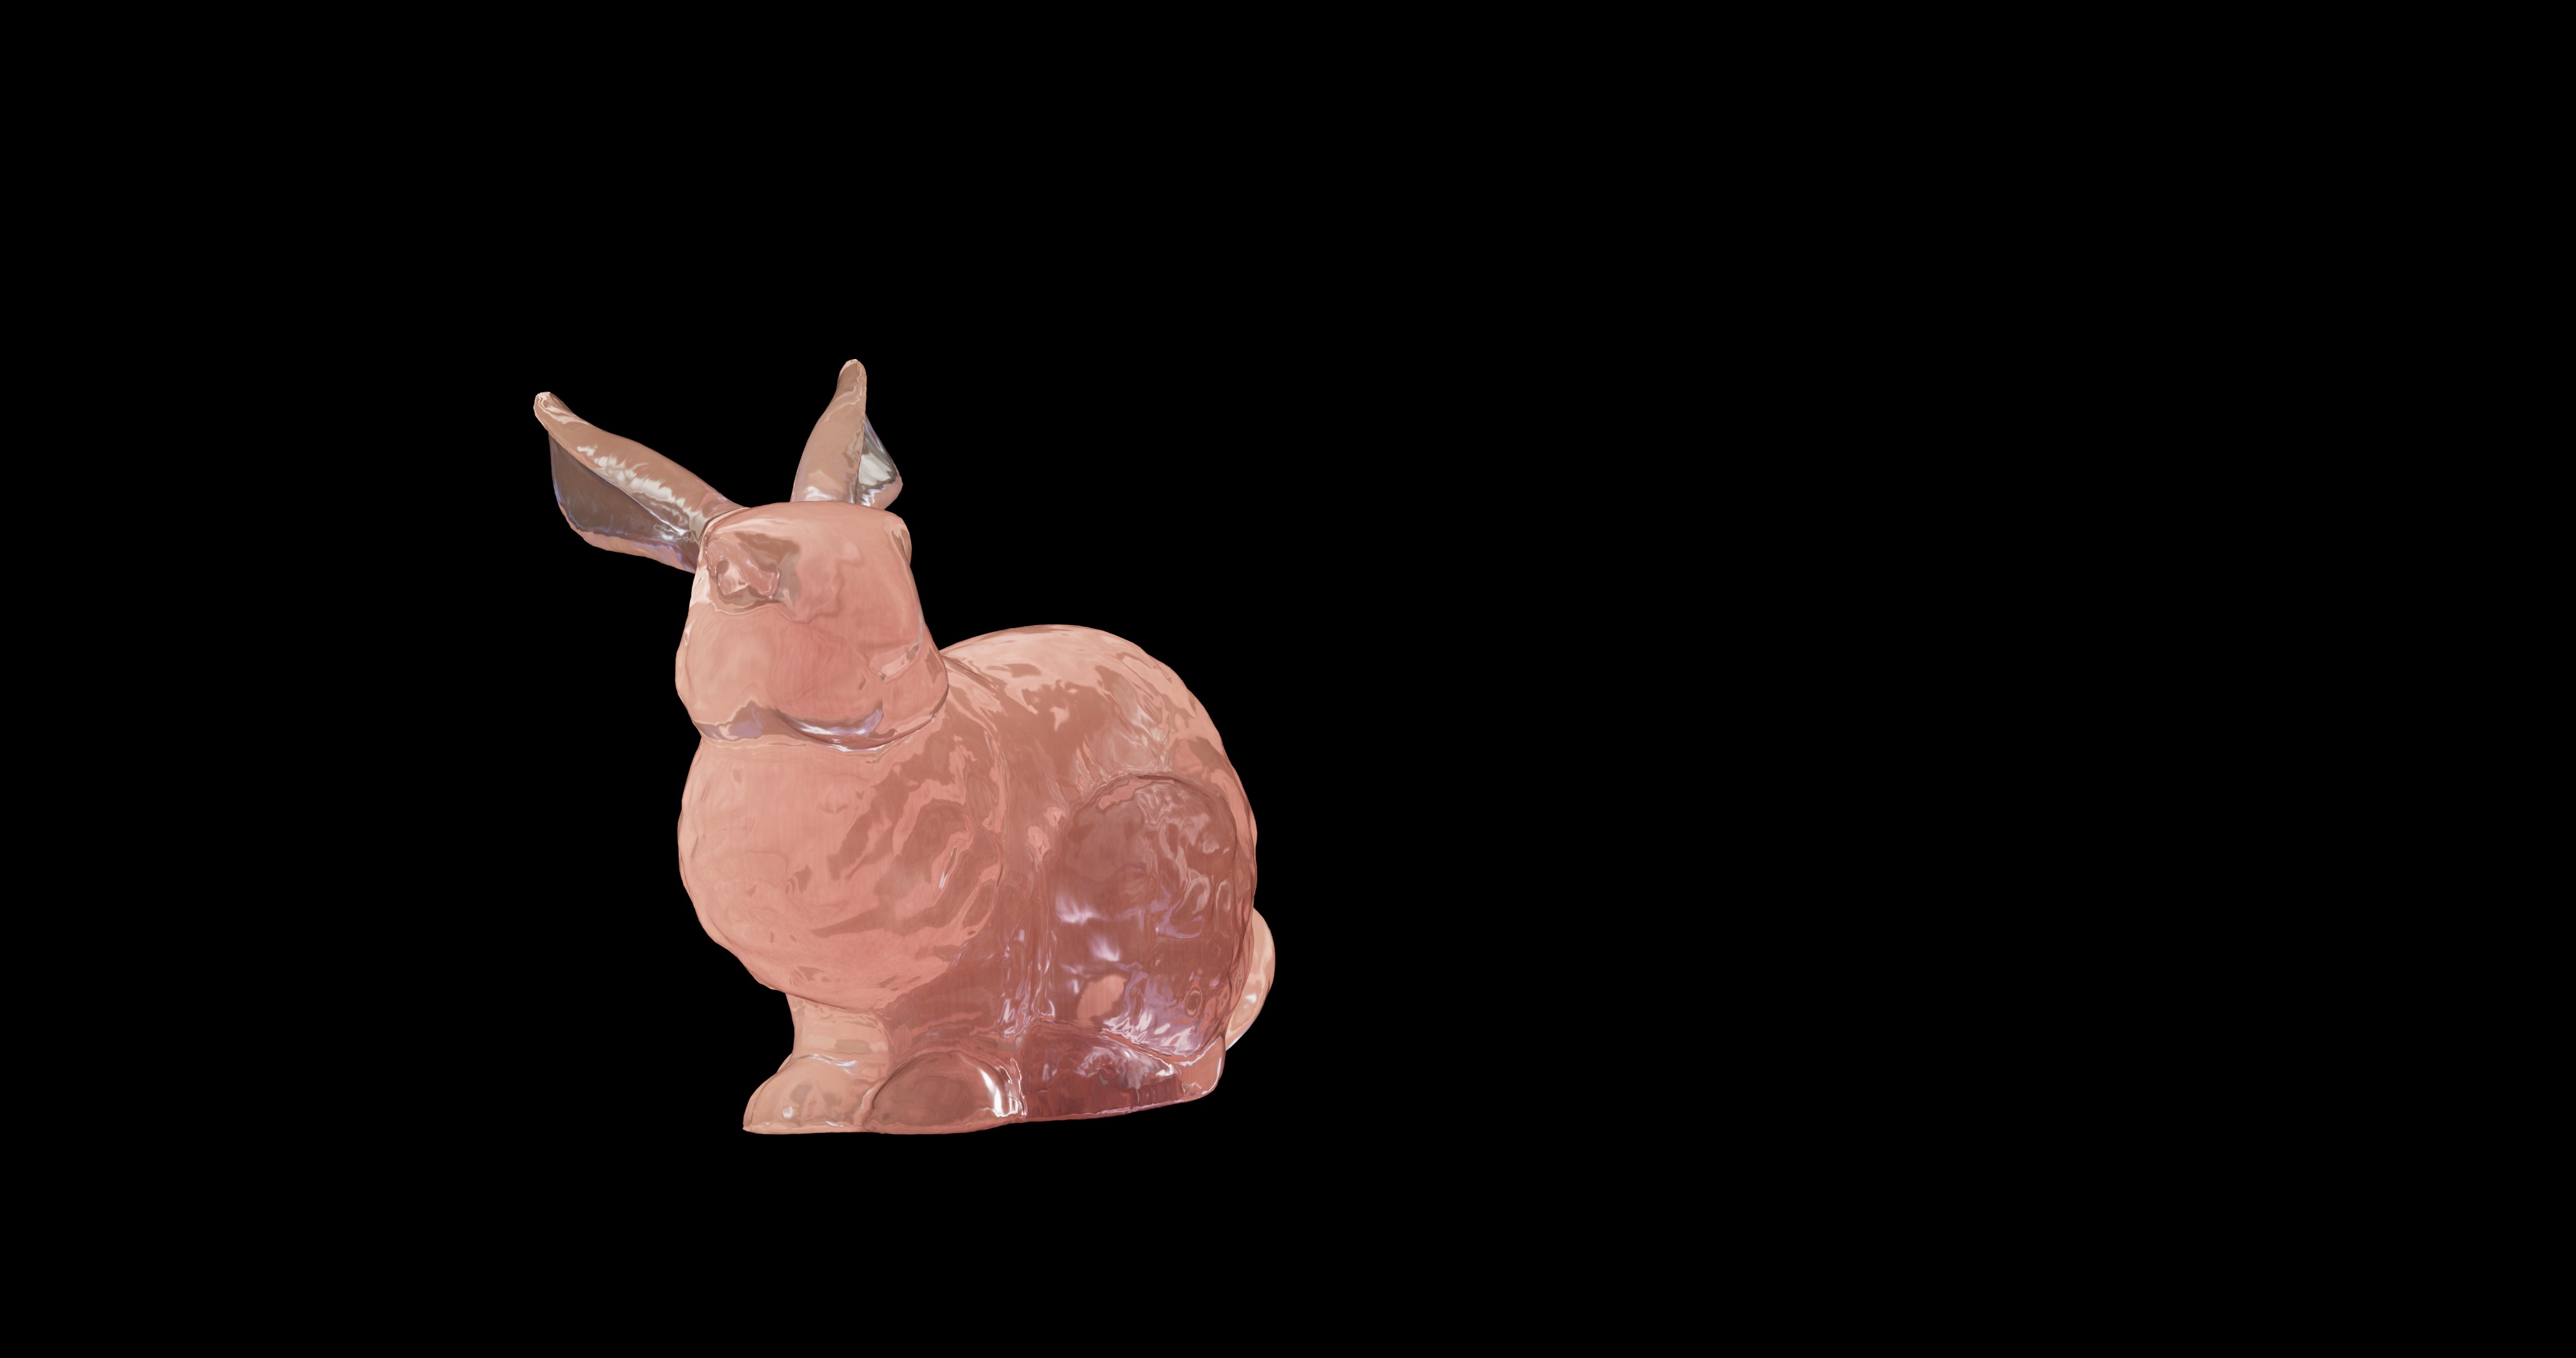
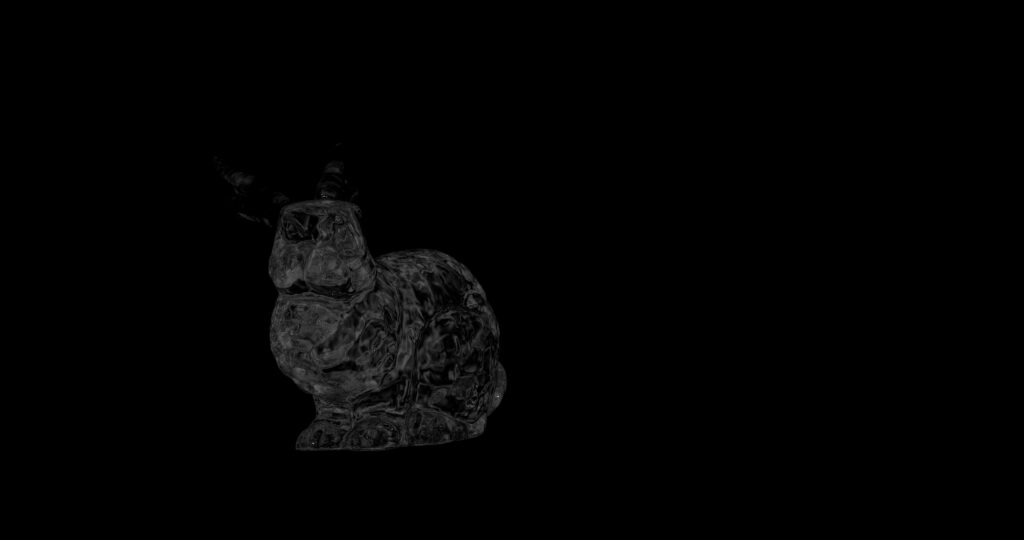
Finally, the caustic was created by rendering a shadow matte of a light shining through another transmissive material mapped to the facing ratio of the bunny. I mostly had to guess how I thought this would look because I had no reference for how an object of this shape would refract the light. I figured it would be dimmer than the caustic created by the stone since the bunny is much larger, but again just a guess. I used the render of the shadow matte to grade up that area and match it to the color of the shader.
